Hearth-ache

Hearth-ache (n.) /hɑːθ eɪk/

The pain and stresses of trying to work out where to place your stove and constructional hearth in order to comply with impenetrable building standards documents and reams of technical sheets from the stove company.
.
Matt the architect was effecting a very successful poker-voice on the phone. But I just know he was thinking ‘I told you so’. He might not have said it out loud but I know if I was him I would be singing raucously to myself ‘I told you so i told you so ITOLDYOUSO!’. Fortunately for me, given the misadventures on this project, every professional involved with this project has remained entirely discrete on matters of how they think things are going, and Matt is fortunately of that ilk.
.
This conversation was an attempt to discover a miracle substance I could use to make my constructional hearth. It had to be an insulator, have a really high compressive strength and also be non-combustible.  The internet couldn’t provide me with many ideas. The stove company suggested a mixture of perlite and concrete. But I couldn’t find any figures on how insulating this would actually be.
.

The first decision, of course,  is whether you actually need a constructional hearth in the first place. This depends on the stove, and the temperature that the area under the stove will reach. The stove manufacturer will indicate whether you need a constructional hearth and, for our inset stove, we did. More about choosing the stove here.

 .
And the reason that I would have been chanting ‘told-you-so!’ At top volume if I were Matt?  Well it was because in his original designs the concrete floor was laid on top of the insulation. This would have meant that the constructional hearth (at least 250mm  non combustible material under the stove) would have had insulation underneath. And cold bridging would not be a problem.
Screen Shot 2015-10-11 at 21.58.39
With the insulation and concrete reversed (for the very sensible and pragmatic reason that it was recommended by the builder and it made it considerably easier to get the house built) it was a bit more of a challenge.  What I needed was a material that could form part of the constructional hearth but was also an insulator.
 .
Fortunately Matt had an idea – try Foamglas he said. I called the very helpful chap at Foamglas who talked me through the various types and what would be best for my situation.
 .
We decided to get 100 deep Foamglas to maximize the insulation (it has roughly half the lamda value of kingspan) and then allow the screed to fill in the space so it was 80mm thick. A 50mm concrete slab on top of that would give the belt and braces for building control of at least 125mm concrete under the stove.
 .
I bought a box of Foamglas sheets and also a box of Foamglas perinsul- to go under the masonary wall that was to go at the back of the stove. Peninsul has a really really high compressive strength so can go under even load-bearing walls.
foam glas
An engineer friend was kind enough to do some calculations for me on the back of the envelope and, although he said that Foamglas sheets with a compressive strength of xx would be plenty strong enough to support a masonry wall and certainly the stove, it would be sensible to use the perinsul with a compressive strength of 3200 for under the masonry wall.
 .

The size of the constructional hearth and the superimposed hearth was the other puzzle. The question of using the manufacturers instructions (generally German building standards for a German stove) or Scottish Building Standards. And to confuse event further, the area of the superimposed hearth is not the same as the area and position of the constructional hearth.

.

I could write reams of utterly boring blurb on calculating the size of the various hearths so I’ll spare you that (there a bit more in this blog). But I’ll tell you that I did read the building standards documents, and the stove technical documents, to within an inch of their lives (I even had to call the German offices of the stove manufacturer to get the answer to a couple of my questions that the stove retailer couldn’t answer) and eventually managed to get my head around them.

.

In the end I had a plan. It was all a bit time-dependent, as usual, as Builder#1 was about to put the underfloor heating and screed floor in.  But, of course, nothing is simple when you are piecing together lots of different builders to do different bits of the build. Builder#3 was to put in the masonry wall that would be behind the stove and mortar down the Foamglas before the floor came in. I called him a few times just to be sure it was all go.

.

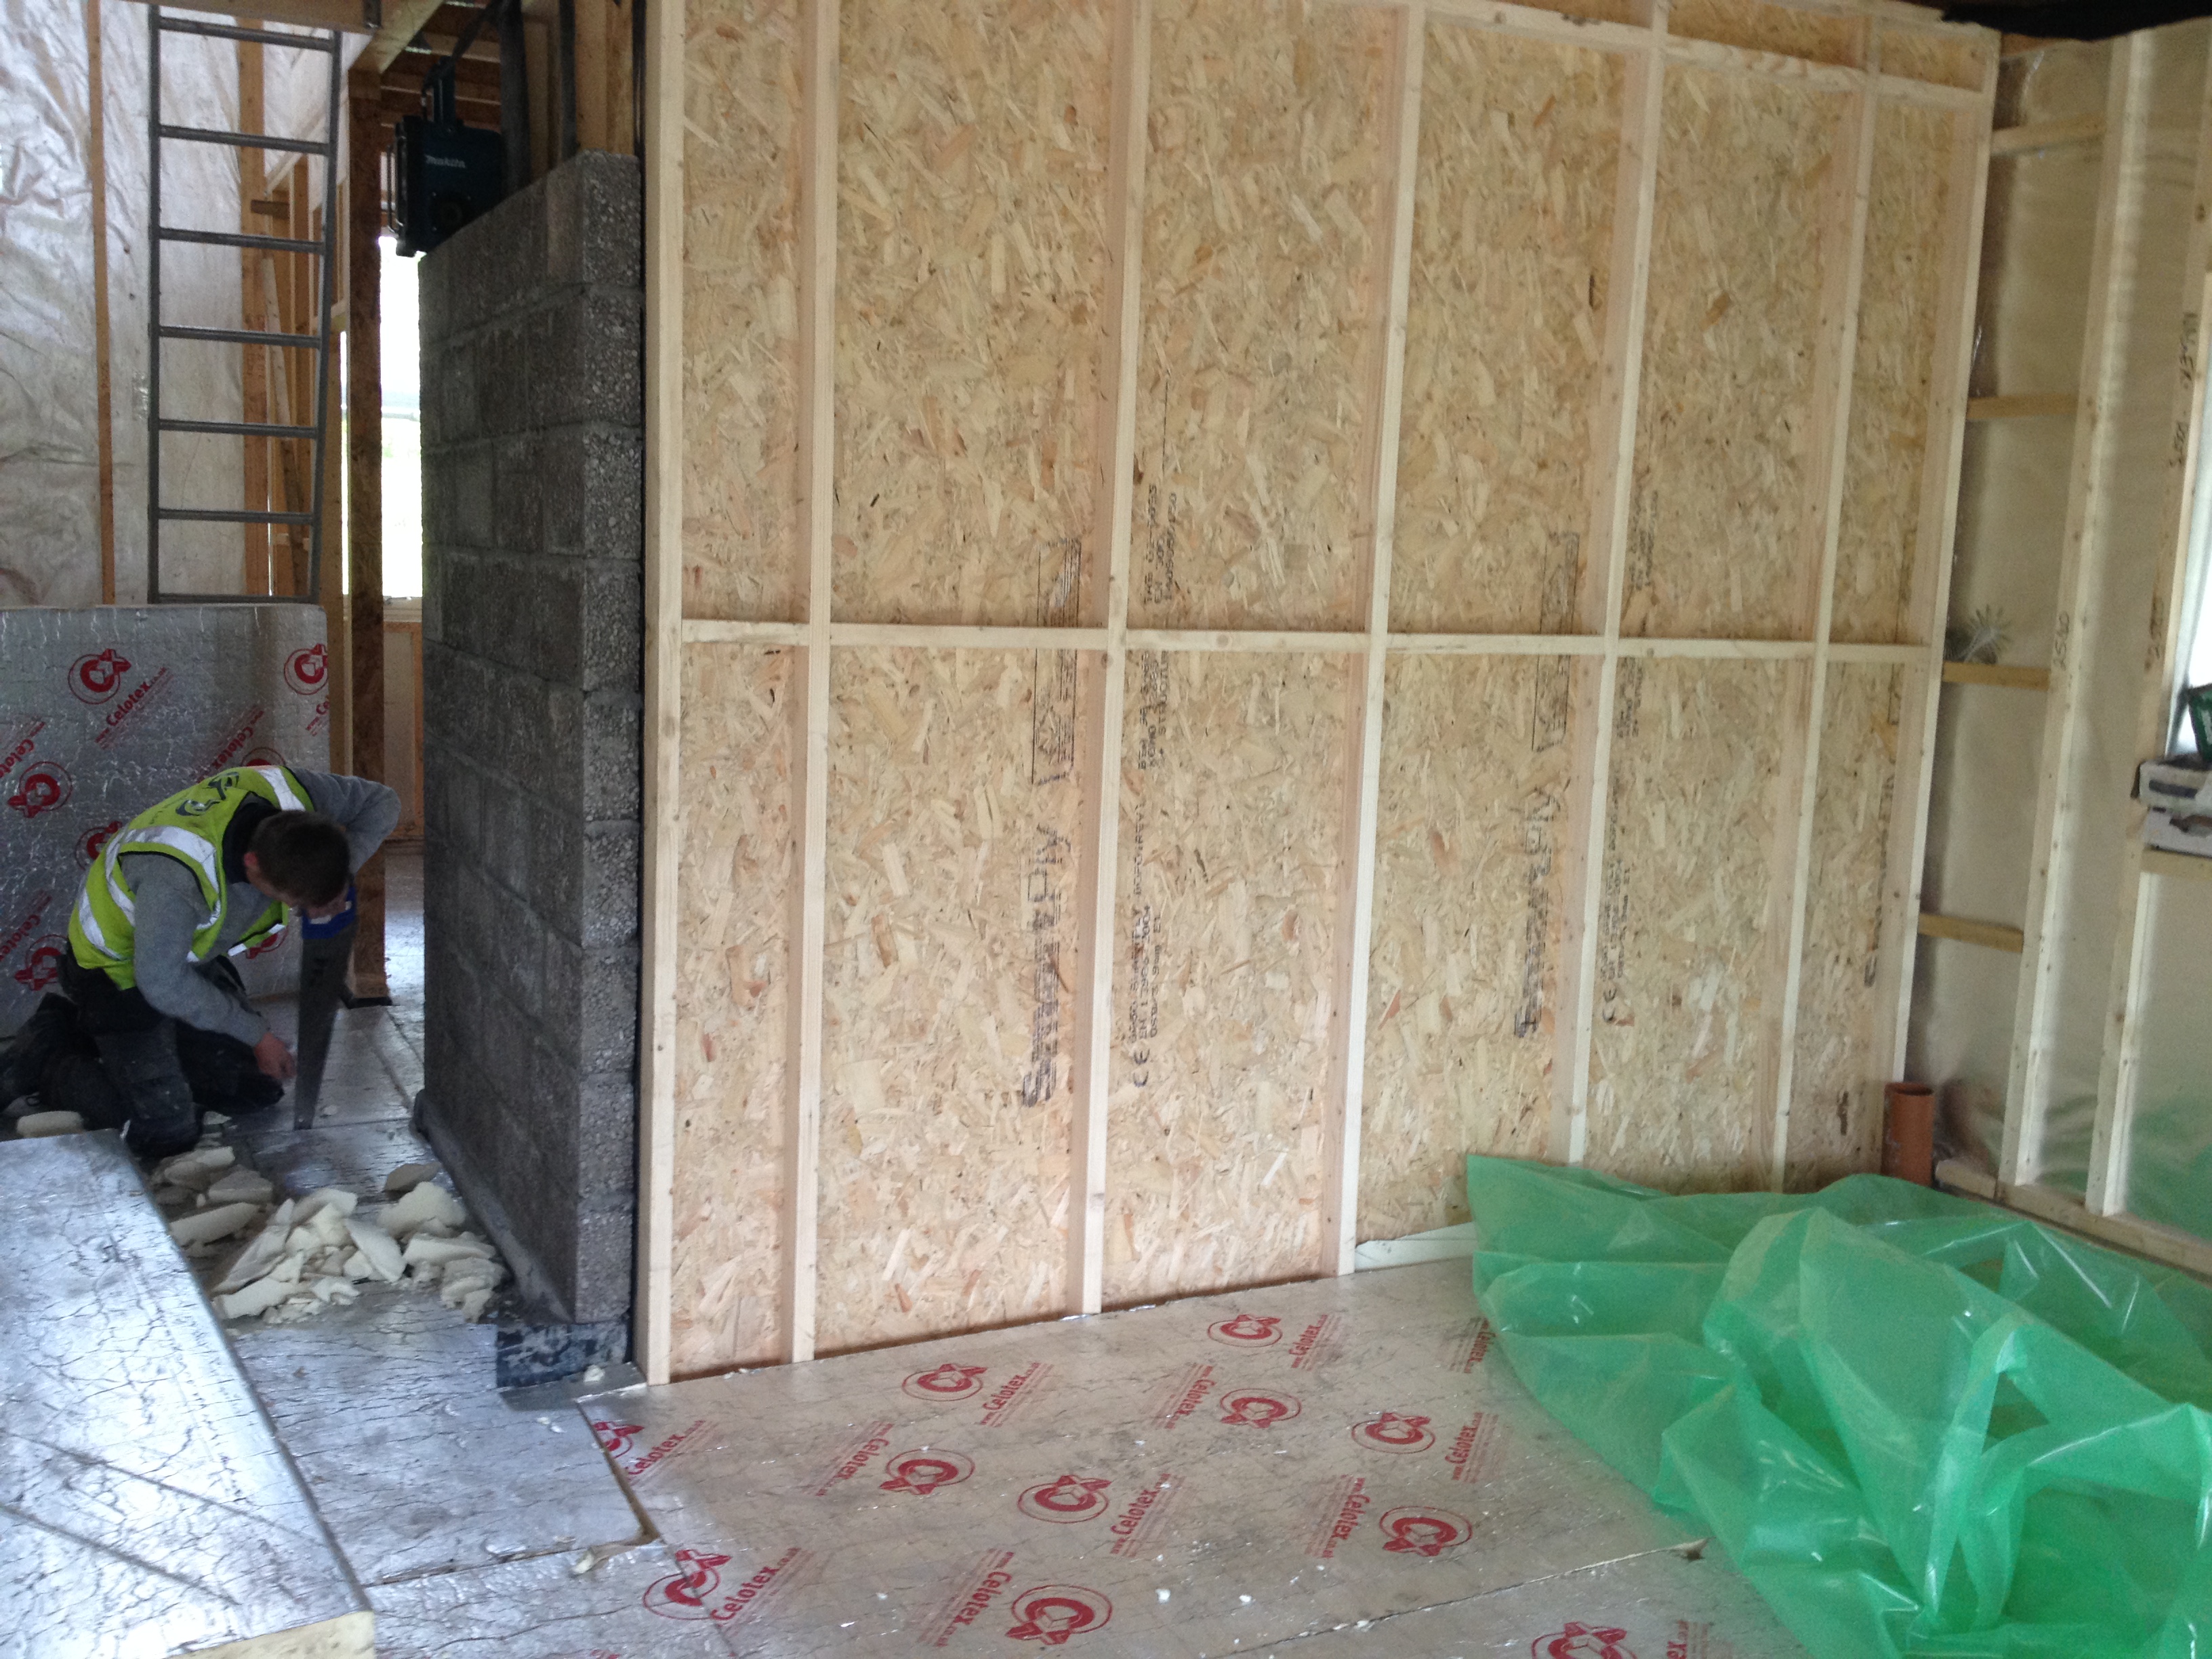
I arrived on site one Monday morning at the very moment that the insulation was going down with a membrane on top, ready for the screed coming in the next day. The first thing I noticed was that the masonry wall was in, with the Foamglas Perinsul underneath, but the Foamglas for the hearth wasn’t there and the Kingspan insulation had already been laid down.  The plastic sheet was just being laid down and stapled up the walls ready for the underfloor heating and the screed to come in.

IMG_0112_2

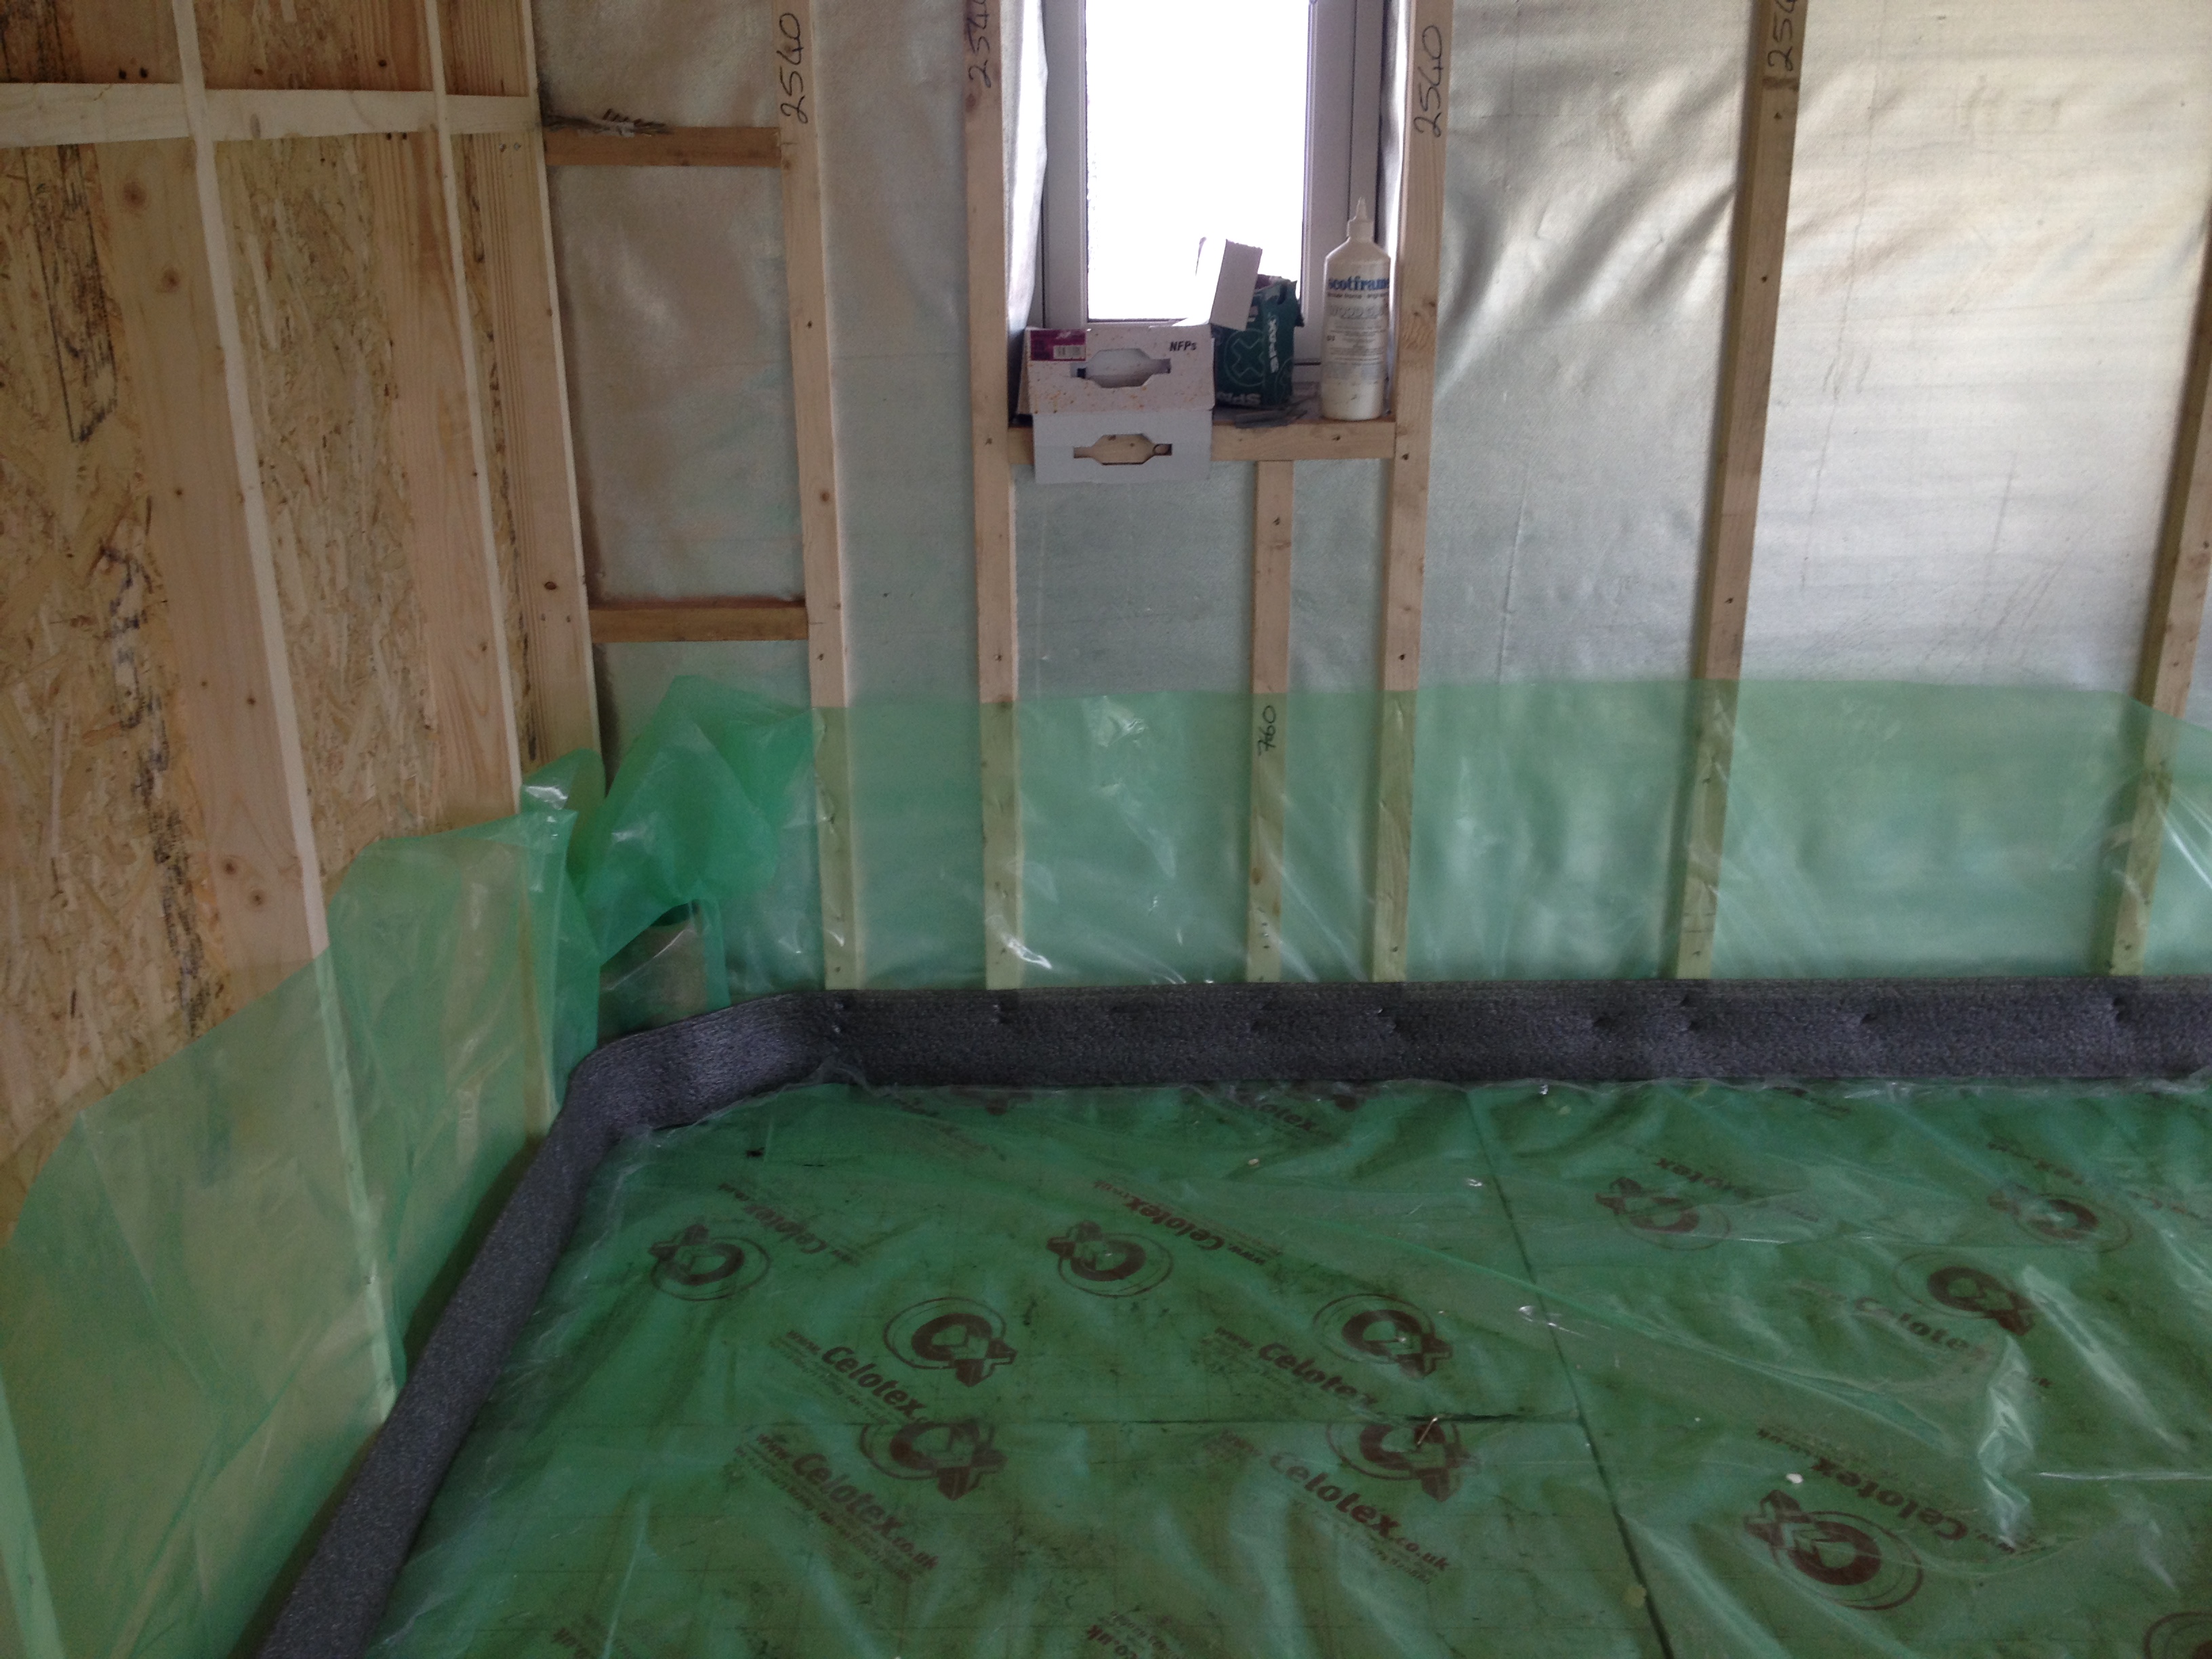
Fortunately it was just in time and they took a saw to the Kingspan and the Foamglas and put it in (phew). The screed came in over the top and then a 50mm concrete slab cut to size went directly under the stove.

IMG_0104

That was bit was not without mishap (what isn’t) but it all went in well and now the stove is in and fits and I am glad I went through all the Hearth-ache of working it all out. If anyone else wants to put in a constructional Hearth, I’m your woman to ask…..well perhaps not.

.

Here’s the definitive blog on the stove

1 thought on “Hearth-ache

  1. Pingback: A tale of four Builders.  | Cuil Things to do

Leave a Reply

Fill in your details below or click an icon to log in:

WordPress.com Logo

You are commenting using your WordPress.com account. Log Out /  Change )

Facebook photo

You are commenting using your Facebook account. Log Out /  Change )

Connecting to %s